Setting up a pitching machine correctly is essential for players who wish to improve their batting skills through consistent and accurate pitches. To ensure the machine functions at its best, one must have a clear understanding of its mechanics and the various settings that align with training objectives. This process involves initial preparation, adherence to safety guidelines, and proper adjustments specific to the player’s needs.

Before operating a pitching machine, it is vital to prepare the equipment and the environment where it will be used. Ensuring the machine is placed on a stable surface and positioned at the correct distance from the batter is crucial. Additionally, players and coaches should familiarize themselves with the machine’s operation manual, as it contains essential information on routine drills, advanced adjustments, and troubleshooting.
Regular maintenance is necessary to keep the pitching machine in optimal working condition. This includes routine inspections for wear and tear, proper cleaning after use, and timely replacement of worn components. Engaging with teams and leagues can also provide valuable insights into best practices for machine setup and training, while addressing frequently asked questions helps clarify common concerns that arise during operation.
Key Takeaways
- Proper setup and calibration of a pitching machine enhance training effectiveness.
- Safety precautions and preparation steps are critical for efficient use.
- Regular maintenance ensures long-term functionality and performance.
Understanding the Pitching Machine
Selecting a pitching machine that suits a player’s skill level and training goals is essential for effective baseball or softball practice. Understanding the types of machines available and their specific functions can significantly enhance training sessions.
Types of Pitching Machines
Pitching machines come in various designs, each serving different training needs and skill levels. The most common types of machines include:
- Arm-Action Machines: They simulate the arm motion of a pitcher and can throw fastballs, curveballs, and sliders with a realistic delivery.
- Wheel-Driven Machines: Using one, two, or three spinning wheels, these machines can pitch fastballs, curveballs, and a variety of other pitches at adjustable speeds.
- Pneumatic Machines: These utilize air pressure to launch the ball and are typically lighter and more portable.
- Manual Machines: Operated by hand or foot, these machines are good for basic training and are often more affordable.
A well-informed choice in a pitching machine can elevate an athlete’s performance by providing consistent and precise pitches, essential for developing muscle memory and reaction time.
Choosing the Right Pitching Machine for Your Needs
When selecting a pitching machine, consider the following factors to ensure it aligns with the player’s needs:
- Player’s Age and Skill Level: Younger or less experienced players might benefit from simpler, single-wheel machines that throw consistent fastballs. More advanced players could use machines offering a variety of pitches, such as curveballs or changeups.
- Type of Ball: Decide whether you need a machine for baseball, softball, or both. Some machines are adaptable to both, while others are sport-specific.
- Portability: Consider whether you need a machine that is easily transported for practice at various locations.
- Power Source: Determine if an electric outlet will be accessible, or if a manual or battery-operated machine is necessary.
- Budget and Warranty: Factor in the cost and the warranty period offered, as it can be an indicator of the machine’s durability and the manufacturer’s confidence in their product.
Purchasers should also be aware that when buying through online platforms like Amazon.com, they may be taking part in the Amazon Services LLC Associates Program, an affiliate advertising program designed to provide a means for sites to earn advertising fees by advertising and linking to Amazon properties. This does not affect the purchase price but may influence the selection available and the support received after the purchase.
Preparation and Safety Guidelines
Setting up a pitching machine requires careful consideration of the location and stringent adherence to safety protocols to ensure an injury-free training session.
Selecting and Preparing the Location
Accessibility: The chosen field should be easily accessible to participants and accommodate the pitching machine with ample space.
Surface: A level and firm ground ensures machine stability. It should be free of rocks and debris that could interfere with the operation of the machine or pose a tripping hazard.
Ensuring Safety for All Participants
Protective Gear: Participants must wear helmets and protective gear during training to prevent injuries.
Operating Procedures:
- Distance: Position the machine at a safe distance from the batter to allow adequate reaction time.
- Speed Settings: Start with lower speed settings and gradually increase to avoid surprising the batter with unpredictable pitches.
Supervision:
- The machine should be operated by a knowledgeable individual.
- Always have a coach or an experienced team member supervise the training to ensure guidelines are followed.
Emergency Plan:
- Have a clear, communicated plan in case of injuries.
- Keep a first aid kit nearby and know the quickest route to medical facilities.
Setting Up the Pitching Machine
Proper assembly and calibration of a pitching machine are pivotal to maximizing its potential for optimal training.
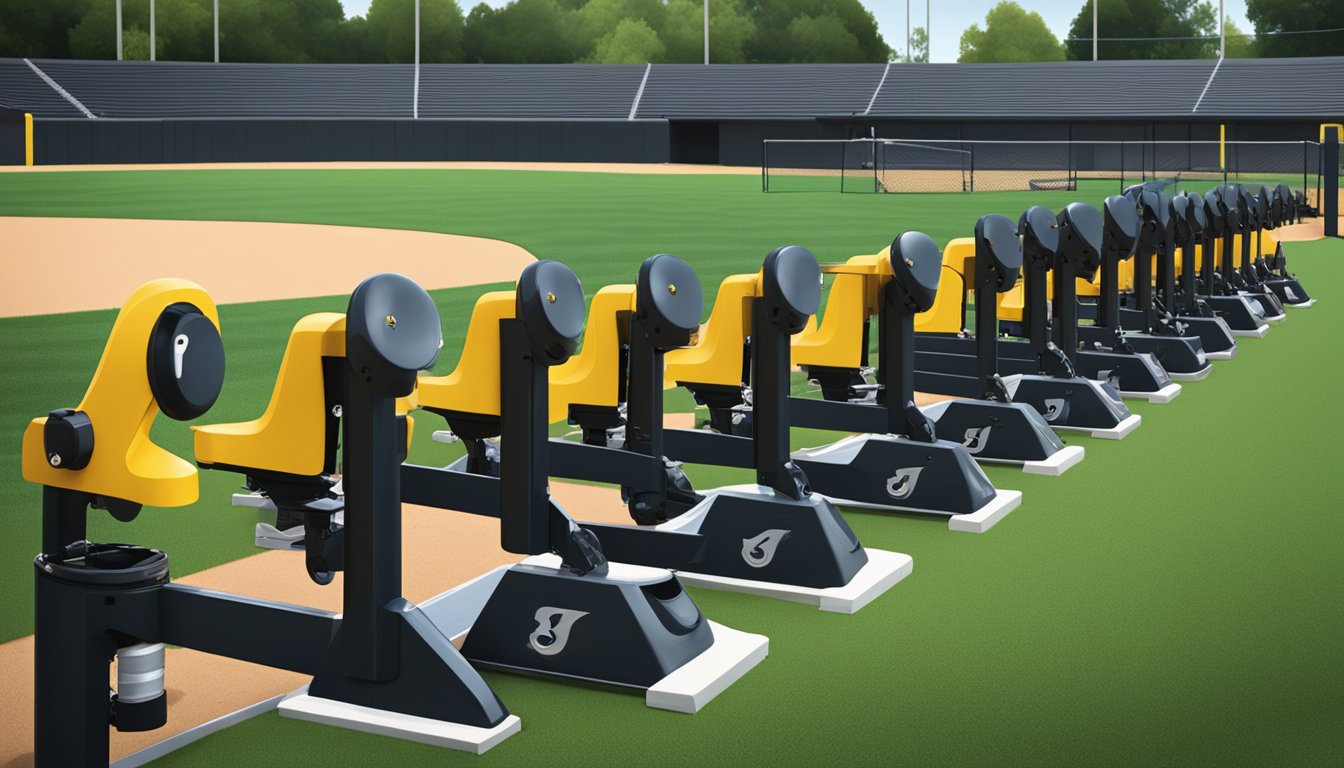
Assembling the Components
To set up the pitching machine, one must begin by assembling the necessary components. Lay out all parts, such as the tripod base, throwing arm, motor unit, and ball feeder, ensuring nothing is missing. The base should be placed on level ground to maintain stability. Attach the throwing arm to the motor unit according to the manufacturer’s instructions, and secure it tightly. The ball feeder, which typically houses the baseballs or balls to be pitched, should be assembled and attached to ensure a consistent feed into the machine.
Initial Calibration and Adjustments
Once the machine is assembled, the next step is calibration. Position the machine at the desired distance from the home plate, typically 60.5 feet for regulation play. Adjust the machine’s height so the trajectory of the balls simulates the desired pitch type. For accurate speed settings, use a radar gun to measure the velocity and adjust the speed controls accordingly. It’s vital to conduct initial tests, observing the flight of several balls, making fine adjustments to the position, angle, and speed until the machine operates as intended. Ensure that all safety equipment is in place and that the operating area is clear of obstacles and bystanders.
Operating the Pitching Machine
Operating a pitching machine efficiently ensures maximal benefit from batting practice sessions. It requires attention to detail in loading balls, adjusting for pitch types, and structuring practice.
Loading and Feeding Balls
To begin, ensure the ball feeder is correctly attached and the hopper is filled with balls. For continuous practice, a mechanized ball feeder is ideal as it provides a steady flow of balls. If a feeder is not available, balls must be hand-fed with careful timing to allow the batter to reset between pitches. Always check that the balls are of consistent quality and suited for the machine to avoid jams or inconsistent pitches.
- Checklist for Loading:
- Ensure compatibility of balls with machine
- Fill hopper or prepare for hand-feeding
- Secure ball feeder attachment
Adjusting Speed and Pitch Types
Pitching machines come with adjustments for varying the speed and types of pitches. Locate the controls, usually on the machine’s panel, and follow the manufacturer’s guidelines for settings. Adjusting pitch speed is crucial for matching the skill level of the batter and for specific training goals. Additionally, settings for different pitch types must be fine-tuned to simulate various pitch scenarios.
- Controls Adjustments:
- Speed: Set according to player’s skill level and practice objectives
- Pitch Type: Adjust for curveballs, sliders, etc., as capabilities allow
Practice Sessions with the Pitching Machine
Plan practice sessions with clear objectives. Set up the machine to deliver the desired pitches at the right speed and frequency. The timing between pitches should allow for a realistic batting experience, giving players time to prepare and adjust as they would in a game situation. Consistent repetition with the machine helps refine the batter’s timing, swing, and hand-eye coordination.
- Structure of Practice Session:
- Establish session goals (e.g., hit timing, swing technique)
- Configure machine settings for realistic game simulation
- Monitor and adjust machine as needed for consistency
Drills and Practice Routines
Effectively utilizing a pitching machine extends beyond basic batting practice. It encompasses drills to enhance hitting precision, reinforce fielding fundamentals, and fine-tune pitch recognition skills.
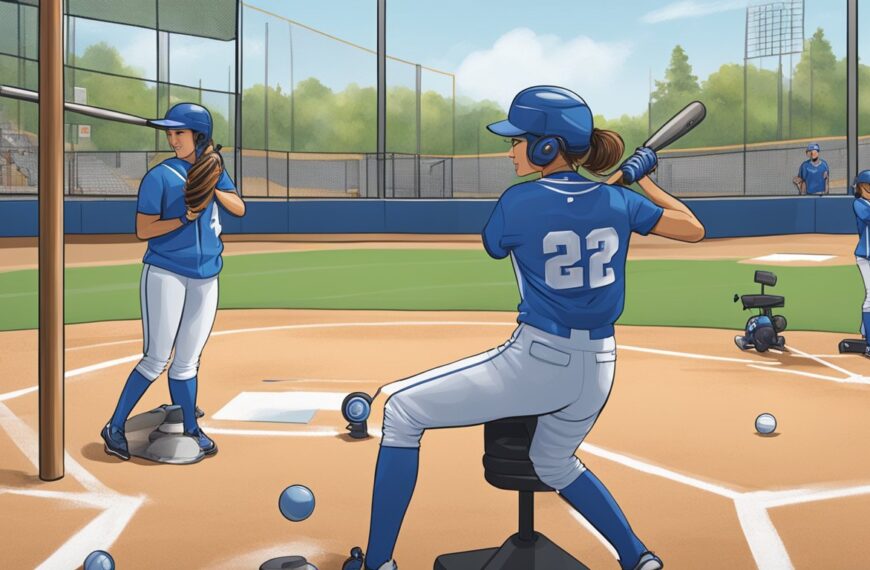
Batting Practice and Hitting Drills
When integrating a pitching machine into batting practice, it’s crucial to focus on swing mechanics and hand-eye coordination.
- Stationary Batting Drills: Set the machine to deliver pitches at a consistent speed and location. Batters should practice their stance, focus on the ball release point, and work on timing their swing correctly. Aim for solid contact with the ball rather than power.
- Dynamic Hitting Drills: Adjust machine settings periodically to simulate different pitch types and speeds. This variation helps batters develop adaptability. Encourage players to target specific parts of the field, promoting control over hitting direction.
Fielding Drills for Infield and Outfield
For fielding practices, tailor drills to cultivate quick reflexes, accurate glove work, and efficient footwork.
- Infield Practice: Configure the machine to fire ground balls at varying speeds and directions to sharpen infielders’ reactions and agility. Stress the importance of positioning the body in front of the ball and using the legs to adjust to bounces.
- Outfield Drills: Aim high fly balls to the outfield, compelling players to track the ball flight and hone their ability to catch on the move. Focus drills should also include line drives and ground balls to practice all aspects of outfield plays.
Specialized Drills for Pitch Recognition
Pitch recognition drills fine-tune a hitter’s ability to identify pitch types and react accordingly.
- Timing Drills: Set the pitching machine to intermittent speeds to challenge hitters’ timing and decision-making. This promotes a better understanding of when to swing or hold back, based on pitch speed and trajectory.
- Visual Acquisition: By occasionally alternating pitch types without prior indication, players can practice recognizing different pitches in flight. Incorporate various spins to replicate real-game scenarios.
Advanced Techniques and Adjustments
To unlock a pitching machine’s full potential, coaches and players can modify settings for various pitches and integrate specific physical training during drills. Understanding machine adjustments and physical requirements for different pitches enhances training quality.
Modifying the Machine for Different Pitches
Fastballs: Adjust the pitching machine to its highest velocity setting and align it so that the ball is thrown straight, simulating the trajectory of a live fastball. Ensure the machine is at the correct distance from home plate to replicate real-game timing.
- Sliders: To simulate sliders, tilt the machine slightly to the opposite side of the batter’s box from the pitcher’s throwing arm. Adjust the speed slightly lower than a fastball to match a slider’s typical velocity.
Pitch Type Velocity Adjustment Machine Angle Slider -5 to -10 MPH 5-10 degrees
Breaking balls (Curveballs, Sliders): Implement a moderate decrease in speed and angle the machine to create the lateral movement characteristic of breaking balls. Adjust spin settings if the machine includes such customization, to replicate the ball’s rotation.
- Curveballs:
- Reduce speed settings to around 10-15 MPH below the fastball.
- Increase the angle from the standard fastball setup to create downward movement.
Off-speed pitches (Changeups): The key is to alter the speed while maintaining the arm angle and point of release to disguise the changeup.
- Changeups: Set the machine speed 10-15 MPH below the fastball without any horizontal or vertical angle changes.
Incorporating Physical Training with Pitching Machine Drills
Body positioning: A pitcher’s body positioning is crucial for pitch effectiveness. Simulate real-pitch scenarios, focusing on stance, leg lift, and follow-through during machine drills. Encourage pitchers to maintain balance and proper form with each simulated pitch.
- Fastball Drills: Engage core muscles and reinforce a compact and efficient throwing motion.
- Off-speed Drills: Emphasize pitch deception with consistent delivery mechanics.
Training Consistency: Consistent repetition with the pitching machine helps refine muscle memory. Set a routine that includes a variety of pitches to challenge and build the pitcher’s adaptability.
- Workout example:
- 10 fastballs (full intensity)
- 5 curveballs (focus on spin and release point)
- 5 changeups (consistent arm speed)
Maintaining Your Pitching Machine
Regular maintenance of a pitching machine ensures optimal performance and extends its lifespan. Proper care prevents malfunctions that could cause injury or disrupt training.
Routine Checks and Cleaning
To maintain the machine’s condition, it’s important to perform routine checks and clean all parts carefully. A systematic approach includes:
- Weekly Check: Inspect for any visible signs of wear or damage. Look closely at the pitching wheels, motor, and ball feeder. Replacing worn components immediately can enhance the machine’s longevity.
- Cleaning Process:
- Pitching Wheels: Clean the wheels with a damp cloth to remove dirt and debris that could affect ball delivery.
- Ball Feeder: Keep the feeder clear of obstructions to prevent jamming.
- Overall Frame: Wipe down the machine’s frame to prevent rust and corrosion.
By keeping components clean and in good working order, operators ensure smooth performance and reduce the risk of injury from malfunctioning equipment.
Troubleshooting Common Issues
A well-maintained pitching machine minimizes common issues, but when they arise, swift action is crucial. The table below lists typical problems and suggested solutions:
| Common Issue | Potential Cause | Suggested Solution |
|---|---|---|
| Inconsistent Pitches | Calibration needed | Adjust the speed dials and check alignment. |
| Strange Noises | Loose parts or debris | Tighten any loose fixtures and clean out debris. |
| Failure to Feed Balls | Obstruction in path | Clear the ball feeder path of any blockage. |
Calibrating the machine for consistent pitches is a proactive approach to maintaining accuracy. This involves regular adjustments to speed and angle settings. Timely identification and resolution of issues prevent interruptions in training and reduce the risk of avoidable accidents.
Engaging with Teams and Leagues
Pitching machines can revolutionize team practices by offering consistent pitches, but they must adhere to the regulations of their respective leagues.
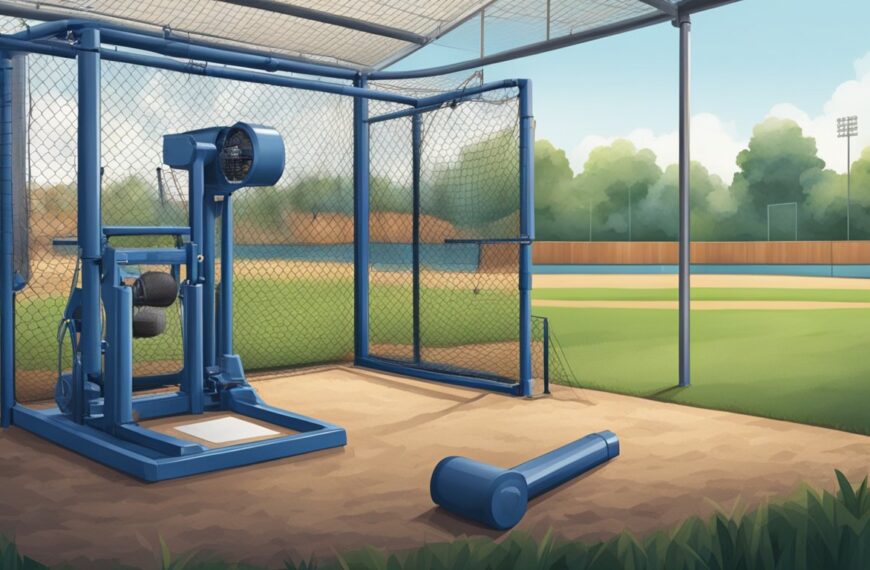
Integrating Pitching Machines in Team Practices
Teams aiming to incorporate pitching machines into their training sessions should focus on positioning these machines both in batting cages and on the field. In batting cages, individual players can receive repetitive practice to refine their batting technique. It’s vital to ensure the machine is set up to replicate a variety of pitches that batters will face in actual game situations.
For infield and outfield practices, machines should be moved onto the field to facilitate drills that improve defensive skills. Delivery speed and angles should be adjustable to simulate realistic in-game scenarios, allowing players to experience the types of hits they will need to defend.
- Tips for Infield Practice:
- Set machine to deliver ground balls and line drives.
- Position at varying distances to practice reaction times.
- Tips for Outfield Practice:
- Adjust for pop-flys and long-range hits.
- Train outfielders to track and catch over long distances.
Compliance with Little League and MLB Regulations
Each league has specific guidelines governing the use of the pitching machines during team practice. For Little League, pitching machines are typically used for training and not during official games, adhering to safety and training protocols. It is important to consult the latest Little League rules regarding machine pitch divisions for current regulations on machine use.
In contrast, MLB-level practices may incorporate advanced machines capable of higher velocities and varying pitch types. They should respect MLB workout guidelines, which are designed to protect players and ensure a level playing field.
- Little League Compliance Checklist:
- Review and follow the official Little League regulations.
- Use machines approved for the relevant age group and skill level.
- MLB Compliance Checklist:
- Confirm that the use of machines aligns with MLB training guidelines.
- Implement machines that can accurately replicate professional pitching conditions.
Conclusion

Setting up a pitching machine correctly is critical to maximizing training benefits and boosting performance. Users should ensure the machine is:
- Stable: A firm setup contributes to consistent pitches.
- Aligned: Proper alignment with home plate parallels accuracy in real-game situations.
- Adjusted: Height and speed adjustments cater to targeted practice for hitters.
Training with a pitching machine offers notable advantages:
- Consistency: It provides a steady flow of pitches, which is vital for honing batting skills.
- Flexibility: Adjustments permit a range of pitch types, aiding in the development of a well-rounded hitting approach.
- Efficiency: Players can practice more in less time, making each session productive.
Regular maintenance of the pitching machine will ensure:
- Longevity: Proper care extends the life of the equipment.
- Safety: Routine checks prevent accidents and injuries.
Investing time in setting up the machine correctly translates into improved performance on the field. Users will find their training sessions more effective, leading to discernible progress in their batting abilities. The pitcher’s absence is mitigated as the machine provides reliable and varied pitching, crucial for a comprehensive training program. By following the guidelines mentioned, players and coaches can optimize their training sessions to foster skill advancement within a safe and controlled environment.
Frequently Asked Questions
This section provides answers to some of the most common questions about using a pitching machine, catering specifically to the setup and operational concerns that users may face.
What are the necessary steps to properly set up a manual pitching machine?
To set up a manual pitching machine, one must assemble the unit according to the manufacturer’s instructions, making sure all components are secure. The machine should be placed on a flat, stable surface with the pitching height adjusted to the batter’s stance and the distance calibrated based on age and skill level.
How should a pitching machine be adjusted to practice slow pitch softball?
For slow pitch softball, the machine should be adjusted to release the ball with a higher, arching trajectory. One must alter the angle and tension to achieve the desired path, ensuring the speed settings mimic the slower pitches of the game.
What is the recommended distance to place a pitching machine from home plate for accurate training sessions?
The recommended distance from home plate for a pitching machine is typically around 45-60 feet for baseball and 35-43 feet for softball. The exact distance may vary depending on the machine type, the age, and the skill level of the batter.
How can training with a pitching machine enhance a batter’s performance?
Using a pitching machine allows batters to practice timing and develop consistent swing mechanics by facing a steady stream of pitches. It can improve eye-hand coordination and enable the batter to focus on specific types of pitches and hitting zones.
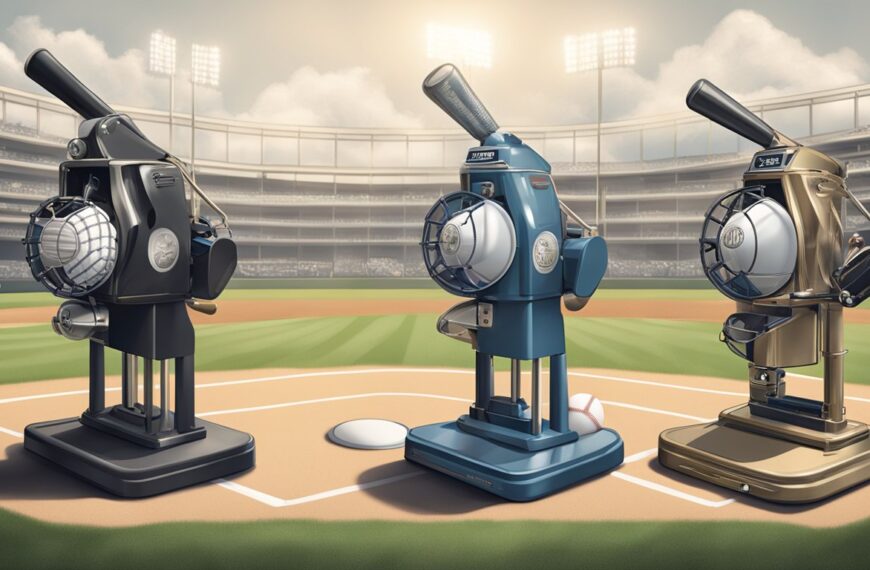
What are the key differences between the Louisville Slugger Black Flame and Blue Flame pitching machines?
The Louisville Slugger Black Flame pitching machine is known to throw baseballs at speeds up to 50 miles per hour, while the Blue Flame can throw up to 60 miles per hour. Additionally, the Black Flame typically offers ease of use for younger players, whereas the Blue Flame is designed for a more advanced pitching experience.
Are there any benefits to hitting off a pitching machine compared to live pitching?
Hitting off a pitching machine provides repeatable and consistent pitches allowing for focused skill development. It can simulate a variety of pitch types without the variability of live pitchers, ensuring a batter can repeatedly practice a specific aspect of their hitting in a controlled setting.