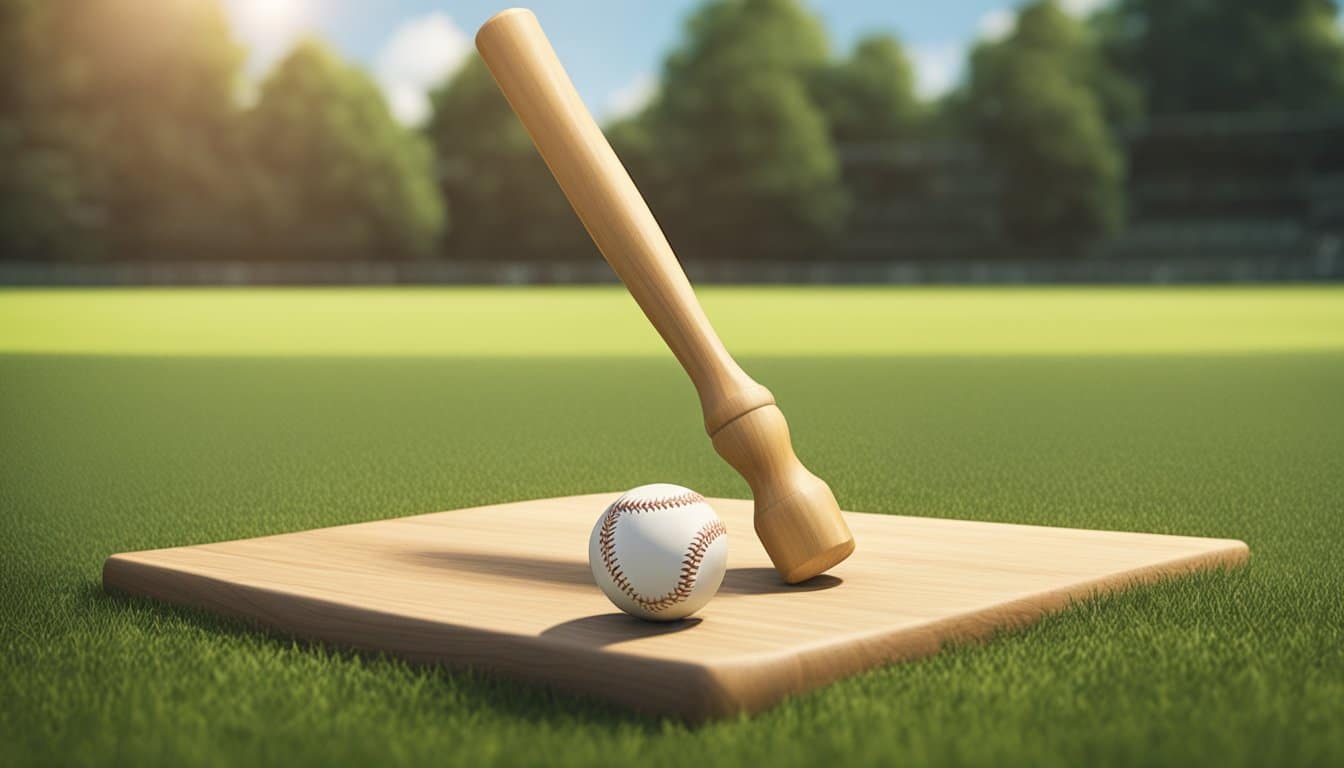
Crafting a batting tee from scratch can be a rewarding venture for any baseball enthusiast or coach looking to personalize their training equipment. Building your own batting tee allows for customization to fit individual training needs and can also be a cost-effective solution compared to purchasing pre-made models. The process of assembling a DIY batting tee involves careful planning, selection of appropriate materials, and the precision of construction to ensure its durability and functionality.

The joy of creating a batting tee extends beyond the building process. Once constructed, the tee can be tailored to suit specific drills and batting styles, which is particularly beneficial for players looking to improve particular aspects of their hitting. Additionally, knowing how to maintain and store your homemade tee will extend its life and maximize its utility. Over time, your DIY batting tee will not only aid in batting practice but also serve as a testament to the benefits of crafting your own sports equipment.
Key Takeaways
- Building your own batting tee offers customization and cost benefits.
- The process requires careful planning and precise construction.
- Proper maintenance will ensure longevity and performance of the tee.
Planning Your DIY Batting Tee
https://www.youtube.com/watch?v=BjhRzO_k4dA&embed=true
To build a DIY batting tee, one must consider the materials to ensure durability, understand batting techniques for effective practice, and design the tee for stability and adjustable height to cater to various users.
Choosing the Right Materials
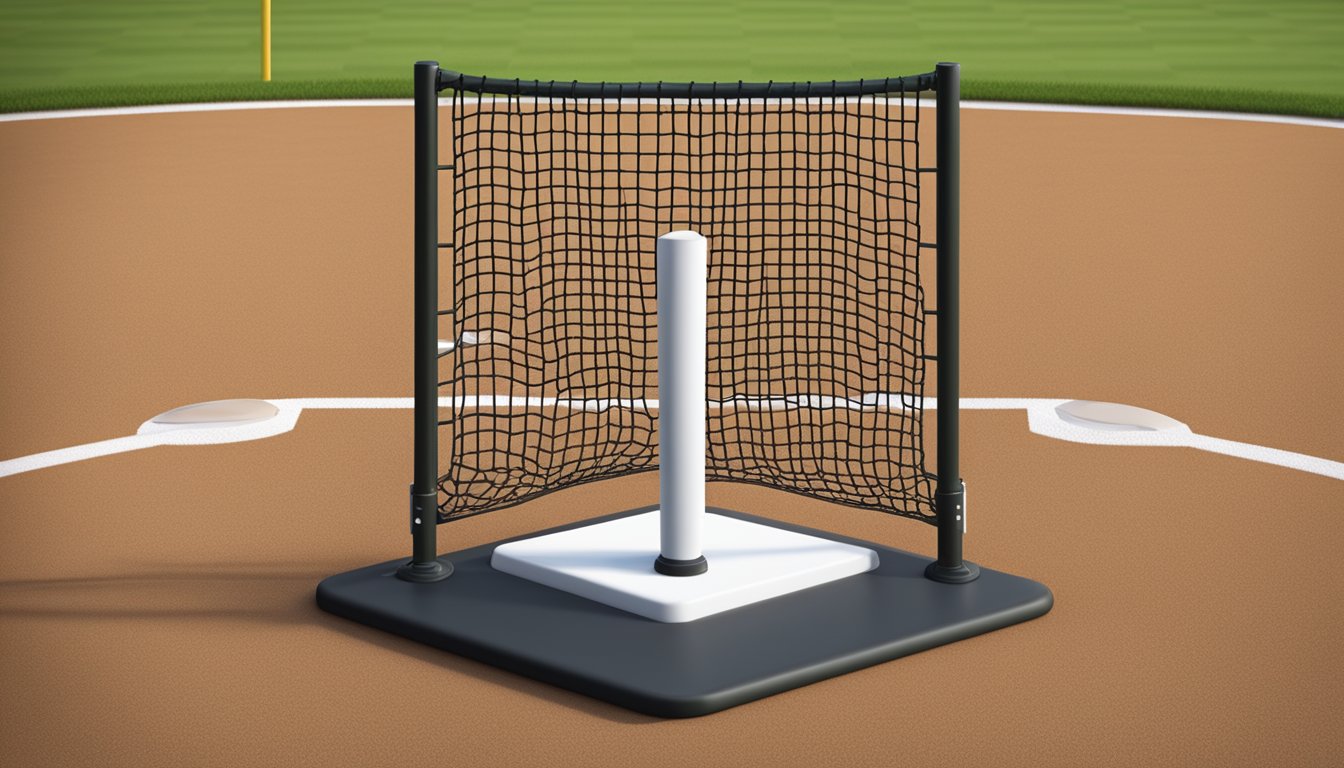
When selecting materials for a DIY batting tee, one should opt for high-quality, durable components. PVC pipe is a common choice for the main structure due to its strength and light weight. For the tee’s top, where the ball rests, rubber or flexible plastic can provide the best combination of durability and minimal interference with the bat. The use of a heavy base, potentially filled with sand or water, is recommended to prevent the tee from tipping over.
- Structure: PVC pipe
- Top: Rubber or flexible plastic
- Base: Sand or water-filled for weight
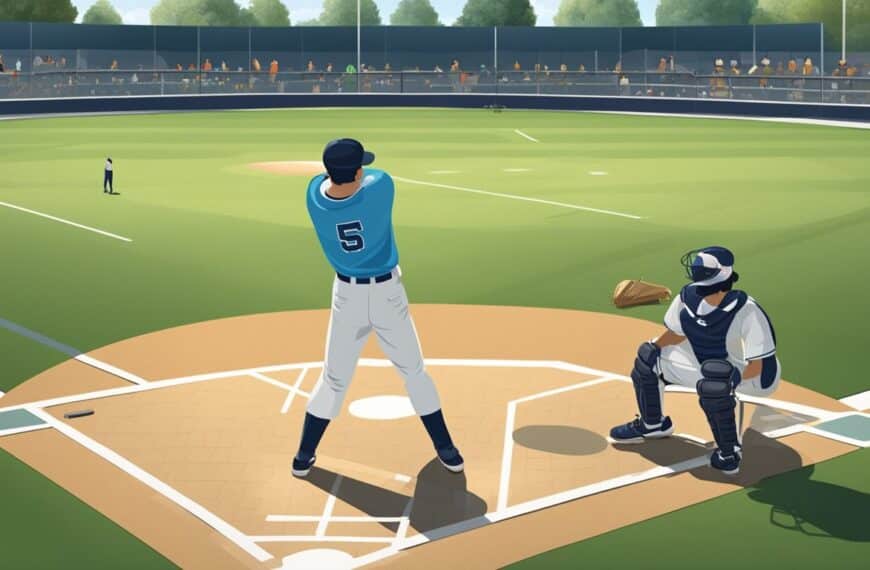
Understanding Batting Techniques
To tailor the DIY batting tee to the user’s needs, it is essential to have a grasp of different batting techniques. The tee must accommodate a full range of strokes, from straight drives to angled hits. For this, adjustability is vital. Ensure the tee can be easily adjusted in height to simulate various pitches, allowing for a comprehensive batting session. This might involve a simple locking mechanism or a telescopic design.
- Adjustability: Height adjustment mechanism for a range of batting techniques
Design Considerations for Stability and Height
A successful batting tee design must balance stability with the convenience of height adjustment. The stability can be assured through a wide base, possibly a triangular design, that distributes weight evenly and reduces the chance of toppling. Height is crucial for catering to different age groups and skill levels, so incorporating a mechanism that enables a smooth transition between heights, from about 20 inches to over 40 inches, will make the tee versatile and user-friendly.
- Stability: Wide, weighted base
- Height: 20-40 inches, adjustable mechanism
By carefully considering these factors, one can craft a robust and functional batting tee ideal for personal or team practice sessions.
Constructing the Batting Tee
https://www.youtube.com/watch?v=vBtl0K06RzQ&embed=true
Crafting a batting tee involves precision in cutting and securely assembling PVC pipes to ensure stability and durability.
Cutting and Assembling the PVC Pipes
They begin by gathering the PVC pipe, which serves as the core structural material due to its durability and light weight. A saw is the preferred tool to cut the PVC pipes into the necessary lengths. Here is a simplified list of PVC pipe requirements for the project:
- (1x) 24-inch length for the vertical tee
- (2x) 12-inch lengths for the base
- (1x) 18-inch length for the horizontal part of the base
After cutting, they clean any burrs or debris from the cuts to ensure smooth assembly. Using PVC primer and cement, each piece is joined carefully, starting with the base, to create the tee’s skeleton.
Securing Joints and Bases
Once the PVC frame is set, securing the joints for enhanced stability is critical. They apply PVC cement to each joint, following proper ventilation guidelines while using adhesives. For the base, users can add weight, such as sandbags or rubber to prevent tipping.
No sewing is required in constructing a batting tee, as the focus is on the assembly of the PVC frame, which does not involve fabric components. Tools like needles, thread, or sewing machines do not apply to this process. Instead, they prioritize the usage of tools like PVC cutters or saws and ensure all fittings are tightly secured for a stable batting practice experience.
Customizing Your Batting Tee
https://www.youtube.com/watch?v=dhTNme5Mh_k&embed=true
Creating a batting tee that meets specific needs involves incorporating features like adjustable height and adding personal touches. This customization enhances both the functionality and aesthetic appeal of the tee.
Adjustable Height Features
Adjustable height is crucial for a batting tee as it allows users of various statures to practice comfortably. To add this functionality, PVC pipes of different lengths can be used as they are sturdy and easily modifiable. The design involves a larger diameter base pipe and a smaller diameter tee pipe that fits inside. To adjust the height, one can cut notches or drill holes at different points along the base pipe and use a pin or bolt to secure the tee pipe at the desired height.
Adding Personal Touches
For those looking to personalize their batting tee, fabric paint and transfer printing offer creative solutions. Using an inkjet printer, one can print their desired design on either light or dark transfer paper, depending on the color of their t-shirts. After cutting out the design with scissors, it’s key to follow the transfer paper instructions, which typically involve using an iron to transfer the design onto the fabric. After the print has been transferred, one should allow it to dry completely. To ensure the longevity of the printed design on the tee, it’s advisable to wash the shirt inside out and use a lower temperature setting on the dryer or allow it to air dry.
Artists looking for a more hands-on approach might opt for screen printing. This technique involves creating a stencil of the image and using a roller or a brush to push ink through the mesh onto the shirt, a process best suited for cotton shirts for its durability after washing. Whether opting for a simple name tag or a full-blown custom logo, these personal touches turn a standard batting tee into a reflection of the player’s style and personality.
Maintenance and Storage Tips

Proper maintenance extends the life of a batting tee, while correct storage ensures it remains in good condition for immediate use.
Cleaning and Care
The batting tee requires regular cleaning to maintain its durability. For PVC pipe components, a simple wash with soap and water will suffice. Make sure to use a soft cloth to avoid scratching the surface. After washing, one should thoroughly air dry the parts before reassembling or storing them to prevent mildew or water damage. For batting tee components made from t-shirts or other fabric materials, they can be machine-washed on a gentle cycle. It’s pivotal to avoid using a dryer which might cause shrinkage; instead, air drying is recommended. To treat tough stains, a pre-wash treatment or mild spot-cleaning with a needle and thread can be used for minor repairs.
Table: Batting Tee Component Care
| Component | Cleaning Method | Notes |
|---|---|---|
| PVC Pipe | Soap and water, air dry | Avoid abrasive cleaners |
| T-shirt Material | Machine wash, air dry | Use gentle cycle, no dryer |
Dismantling for Easy Storage
Dismantling the batting tee is crucial for compact storage, especially in limited spaces. The PVC pipe structure should be taken apart section by section. Using scissors or other tools should be unnecessary if the components fit together snugly with pressure fittings. Labeling each piece with removable stickers can be helpful for easy reassembly. Once dismantled, store the pieces in a cool, dry area to avoid heat damage or warping. Storing the components in a fabric bag can protect them from dust and other elements. It is essential not to use an iron or any other form of direct heat on the tee’s components during storage to prevent melting or deformation.
List: Steps for Dismantling and Storage
- Disassemble the PVC pipe sections gently.
- Label each for straightforward reassembly.
- Store in a fabric bag to protect from dust.
- Choose a cool, dry location for storage.
- Avoid direct heat sources.
Frequently Asked Questions
https://www.youtube.com/watch?v=Pmb-gHLNNEE&embed=true
Crafting your own batting tee can be a rewarding DIY project. Here, find answers to common questions about materials, construction, and usage for homemade batting tees.
What materials are needed to create a homemade batting tee?
Creating a homemade batting tee requires a base, a telescoping mechanism, and a cup to hold the ball. Typically, materials such as a heavy-duty rubber mat, PVC pipes, a flexible rubber tube, and a baseball-style practice ball are used.
How can I use a pool noodle to construct a batting tee?
A pool noodle can be used as the padding for a batting tee. Slice a hole in the center of the noodle to insert a PVC pipe, which acts as the supporting structure, and attach the noodle to a stable base.
What steps should I follow to build a DIY Tanner-style tee?
To build a DIY Tanner-style tee, start by preparing a solid, flat base and a PVC or metal pipe for the support shaft. Attach a flexible rubber cone or cup to the top of the shaft to cradle the ball. Ensure the height is adjustable to simulate various pitch locations.
What are the best practices for using a batting tee to improve my swing?
For the best results, players should focus on proper stance, ball position, and swing mechanics during tee practice. Adjust the tee height to work on hitting both high and low pitches, and regularly change your position in relation to the tee for a comprehensive workout.
How can I adapt a batting tee for both softball and baseball practice?
To adapt a batting tee for softball and baseball, use adjustable height settings and interchangeable ball rests to accommodate both softball and baseball sizes. Ensuring the tee’s stability for the difference in ball weight and bat size is also essential.
What techniques do professional MLB players recommend when practicing with a batting tee?
Professional MLB players often emphasize starting with the tee at waist height and then making slight adjustments to practice hitting in different zones. They also recommend focusing on hitting the ball with the proper part of the barrel and maintaining balance throughout the swing.